 This pattern is next on the cutting table. I plan to make the black and white version. Being a little confused about possible fabric combinations, I have decided to go with satin backed crepe. The project provides several additional challenges. Which color zipper; black or white? Probably white so that the pull tab is not noticeable. I will make a sample of both. The pattern envelope is missing the facing pieces so I will have to construct my own. And finally, the pattern will require grading as I could only find the pattern one size smaller than I need. This pattern is copyright 1964.
Monday, August 30, 2010
Simplicity 5797
This pattern is next on the cutting table. I plan to make the black and white version. Being a little confused about possible fabric combinations, I have decided to go with satin backed crepe. The project provides several additional challenges. Which color zipper; black or white? Probably white so that the pull tab is not noticeable. I will make a sample of both. The pattern envelope is missing the facing pieces so I will have to construct my own. And finally, the pattern will require grading as I could only find the pattern one size smaller than I need. This pattern is copyright 1964.
Sunday, August 29, 2010
Off and Running!!
 One of my goals, over the next several months, is to become familiar with the various feet that came with my sewing machine. Of the nine original feet that came with my sewing machine, I have only ever used three. Recently I purchased an invisible zipper foot as I plan to put in zippers.
Tuesday, August 17, 2010
Hem, hem, Hooray!!


Several days ahead of schedule, I managed to hem 3 pairs of pants for my college bound daughter. I was surprised to see the difference in the stitching. One pass was done from the inside and one from the top. The topstitched side looks remarkably better.
Thursday, July 15, 2010

Wednesday, July 14, 2010

Monday, June 28, 2010
My Very First Pair of Sewing Scissors

This is a picture of my first pair of sewing scissors. And yes, I never used them on paper. I learned the lesson at a very young age. They still work well today after forty plus years.
Fiskars has New Colors!!


Dedicated shears are instrumental to sewing. Now everyone can have there own set unique in color. Although my own set was the original orange; it has been updated to coastal yellow. Christine, of course, has the light pink set. Leah is privy to the new blue and Abbey the coastal coral. David also has his own set; grey.
Rule Number One: Never use sewing scissors to cut anything but fabric or pattern pieces pinned to fabric.
Rule Number Two: Never use or borrow my scissors. You have your own. Take care of them and they will serve you well.
Wednesday, April 14, 2010
One of A Kind Jeans


Changing the button on your favorite jeans can extend the life of the jeans. Whether the button falls off on its own or you just want to change it, the steps are fairly simple. Remove the old button and find another one that it the same size so that it will work well in the button hole. Use iron-on jean patch to support where the button will be sewn. Cut the patch material so that it is just large enough to support the hole made by the previous button. After ironing the patch on both sides you can zigzag the edges so there won't be a tendancy for the patch to curl. The patches will not show as the waistband with the button hole covers the wasitband with the button. Sew on the new button.
Tuesday, April 6, 2010
The Prom Dress that Wasn't
One of my big goals was to make a prom dress this year. I was able to incorporate new skills in the design and making of the dress. To control raveling, I presewed the seam finish using a small zig zag around all the pattern pieces. The technique worked well and I would definitely use it again. I reviewed understitching to keep facings from showing. This pattern used a one piece facing combining the neck and armhole which meant that the understitching did not go all the way around the piece because of the narrowing or the shoulder straps.
A great style was chosen as well as some stunning red crepe backed satin. Several muslins were made and darts adjusted. All was going fairly well until the final fit. The look was just not flattering on my daughter. She and I were both disappointed.
A great style was chosen as well as some stunning red crepe backed satin. Several muslins were made and darts adjusted. All was going fairly well until the final fit. The look was just not flattering on my daughter. She and I were both disappointed.
Sunday, April 4, 2010
Applique Baby Blanket


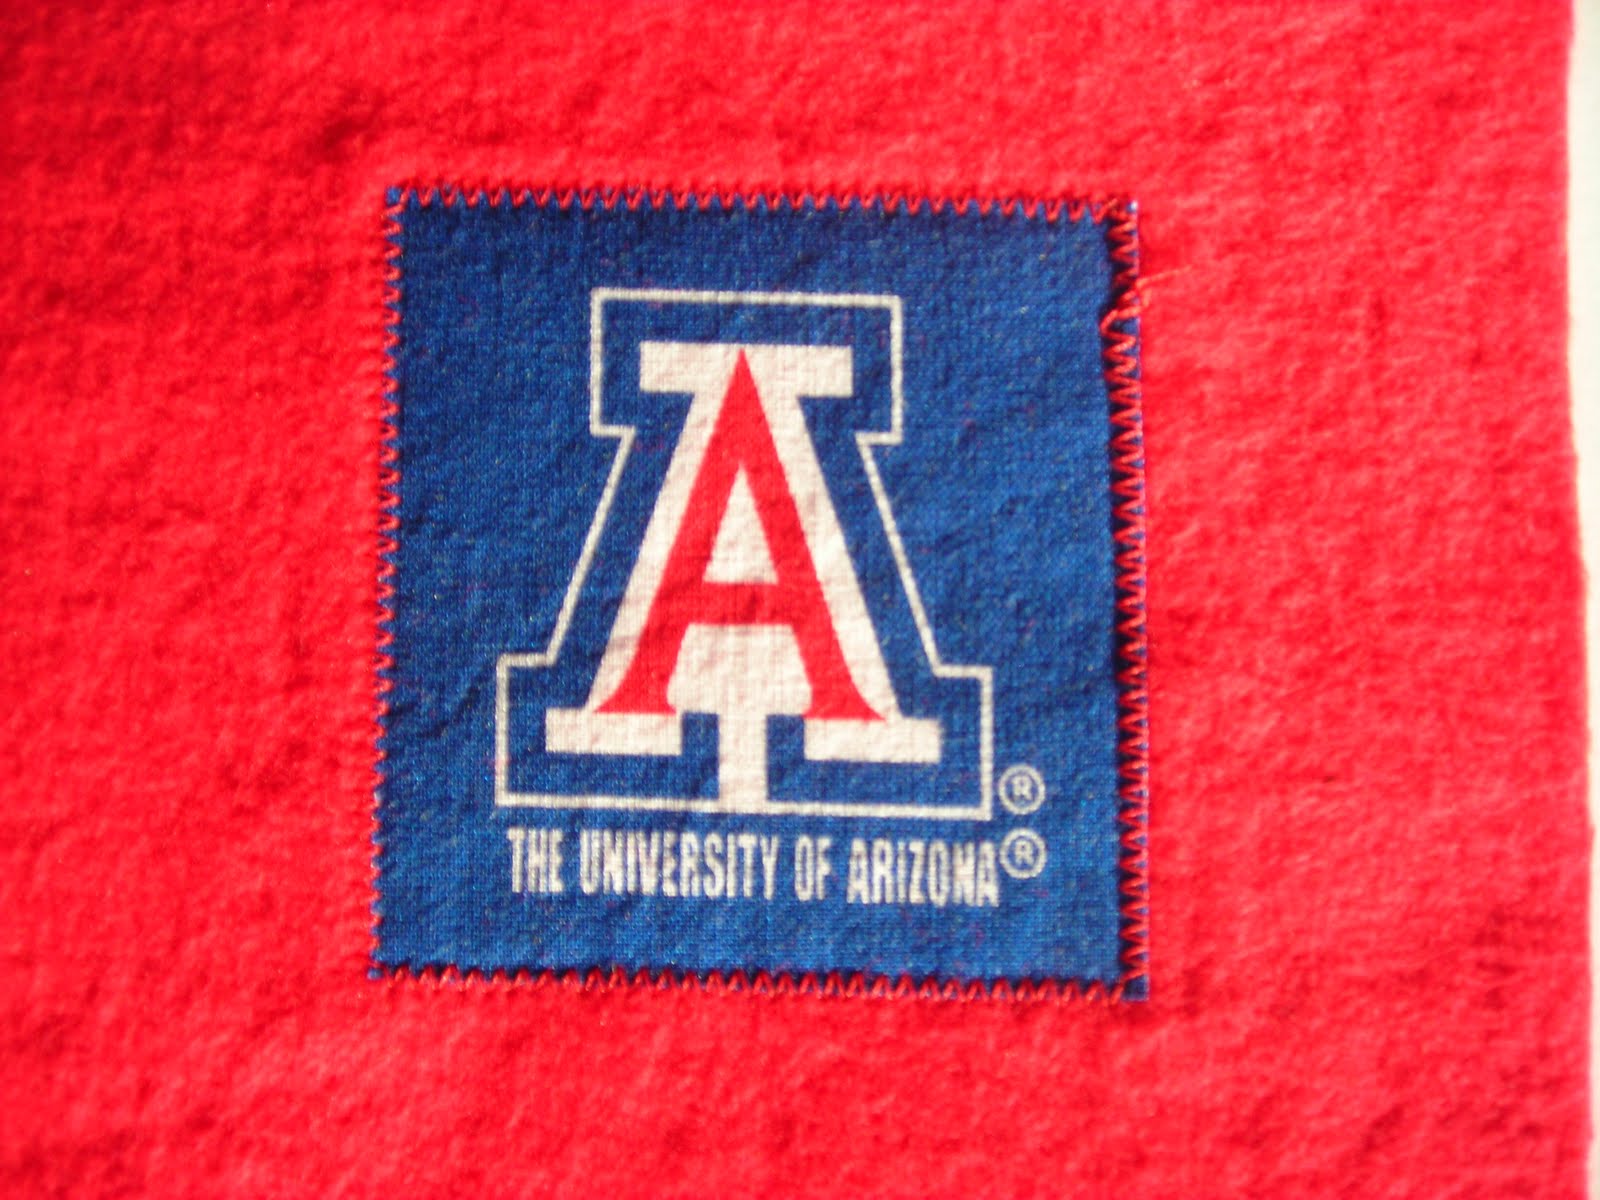
Materials needed:
Baby blanket
fabric with desired design
Heat n Bond Lite
teflon press cloth
iron
thread
Instructions:
Prewash all materials. Preheat iron to medium heat; no steam. Place adhesive on back of item to be bonded. Paper liner should face up. Hold iron for 2 seconds. Repeat until entire design is prepared. Allow to cool. Trim to desired size. Peel off paper liner. Place material, adhesive side down on top of project. Press and hold for 6 seconds. Sew along edges.
Subscribe to:
Posts (Atom)


